Digital Post-Processing - Part 1 : Basic Post Processing
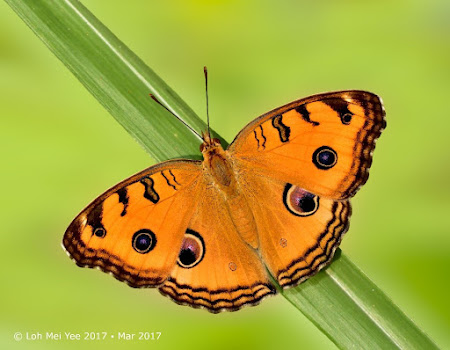
In the earlier Butterfly Photography 101 series, we discussed a range of subjects, from photographic equipment to composition to stalking butterflies in the field. We continue on to another aspect of digital photography - post processing. Whilst it is important to "get the photo right" out in the field, there are numerous situations where a butterfly photo needs an extra bit of work to get it "perfect".
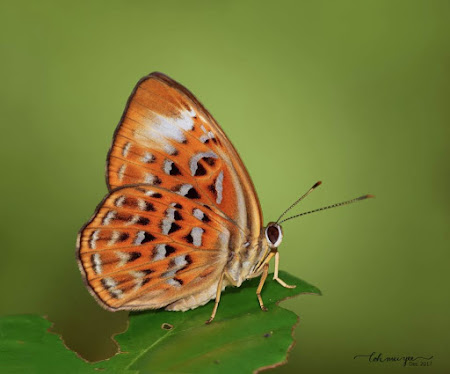
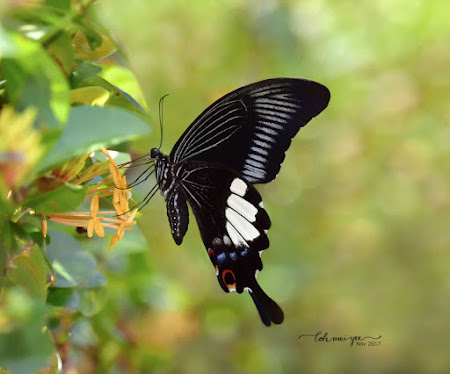
In today's world of photography, post-processing is very much a part and parcel of a photographer's arsenal of technical skills to present a photo in the best possible way. Whilst purist advocates of photography frown on any sort of manipulation of a photograph, such digital interventions are quite acceptable in many situations. The key is the extent of digital manipulation. In extreme cases, a major makeover eliminates the need to even take a photo of a butterfly out in the field! However, this article is more about doing basic post-processing to make a photo look even better.
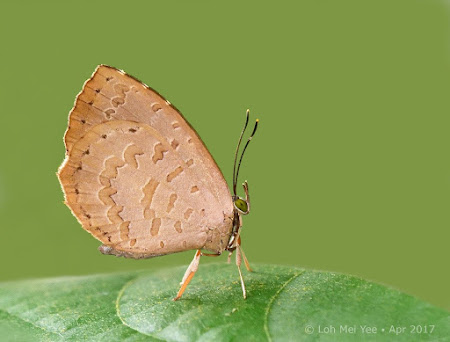
The majority of amateur butterfly photographers would deem some form of digital manipulation of a photo as acceptable. Unless one is an expert at using any of the sophisticated photography post-processing software like Photoshop, most of us should be quite happy just adding a bit of sharpening or increasing the contrast of a photo. It would be quite safe to assume that most of these photos end up on social media, websites and other parts of cyberspace, rather than printed out in poster-size for display.
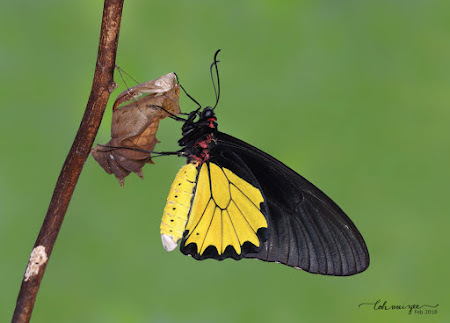
In this new series on digital post-processing, ButterflyCircle member Loh Mei Yee shares her tips and tricks on how she enhances her butterfly photos before sharing her work online with the community. In this Part, she discusses some fundamental post-processing editing of a photo to make it look a little better. Over to Mei Yee...
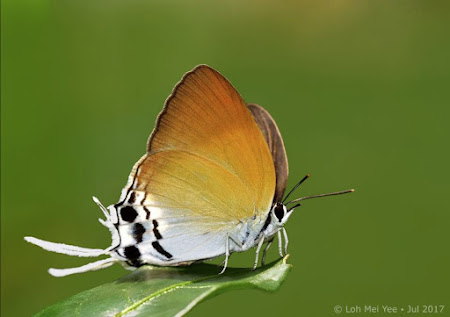
I started butterfly photography in January 2017. Under the guidance of some of the best butterfly shooters in ButterflyCircle, I was able to progress very smoothly. Thank you to all the sifus! In the field, I applied the things that I’ve learned. Examples are how to approach the butterflies like I’m practising Qigong, avoid sudden movements, try to get as close to the butterflies as I could so that I can get good bokeh with shallow depth of field, etc. After that few seconds of snapping away, I’ll immediately check my shots and I will be very happy if I managed to get a few good shots, or even if there was just one good shot.
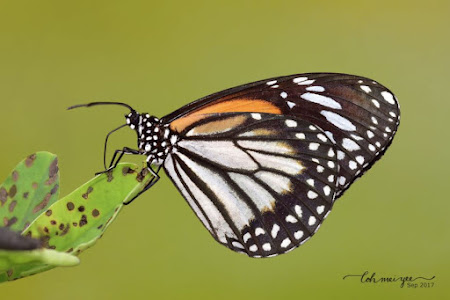
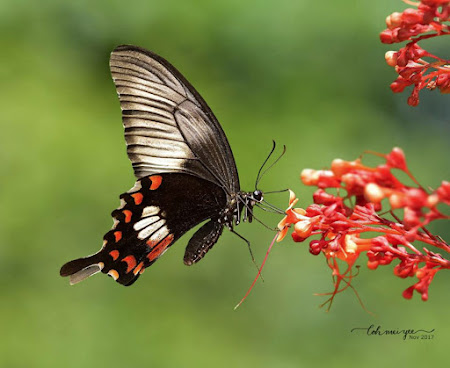
I’m sure some of us will find that the photo you see on your computer does not look as good as what you have seen from your camera screen. And you might wish that there’s something you can do to make it look better. There’s when that little photo editing magic comes in. In this mini series, I will show you some simple steps in Photoshop editing. I am by no means an expert in Photoshop, nor would I say my methods are the best, but I’m here to share with you some of the things I’ve learned through the years of using Photoshop. I hope you will find them useful!

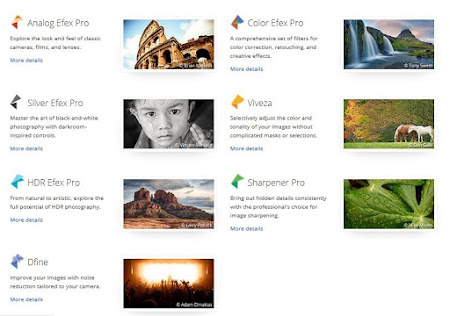
These are the 7 free plug-ins in Nik Collection. But I will be using only 2 plug-ins, Viveza and Sharpener Pro.
Most of the post-processing is done using Nik. The Nik Collection by Google comprises seven desktop plug-ins that provide a powerful range of photo editing capabilities. Nik plug-ins can be used on Photoshop®, Lightroom®, or Aperture®. You can download it free here : The Nik Collection. I’m a long-time Photoshop user but only discovered Nik Collection last year, thanks to Uncle Bob Cheong for introducing me to this awesome plug-in, and now I’m addicted to it. It was made available for free in 2016.

Open your file in Photoshop. I’m using Nikon camera and I shoot in raw. I use a free application called Capture NX-D to open the RAW files and from there, open the files in Photoshop. You can download it here : Nikon Capture NX-D. I’ve chosen a photo of the Common Bluebottle that I shot some time in May 2017.
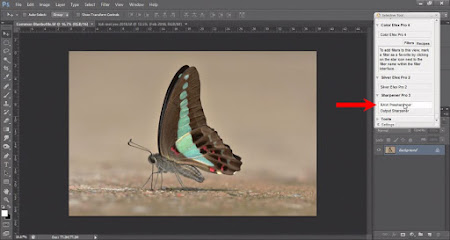
The red arrow shows the use of RAW Presharpener under Sharpener Pro
Step 1
Under Sharpener Pro 3, select ‘RAW Presharpener’. Many DSLR cameras have anti-aliasing filters to prevent *moiré. Anti-aliasing filters often introduce an undesired blur to a photo. The RAW Presharpener helps to remove this issue. The advantage of using the sharpening tools in Nik is that you can choose to select areas that you want to sharpen on by adding control points. In this case I’m sharpening the entire image but I prefer to do it with Nik because it will automatically create a new layer after applying the tool. You can also sharpen the image by using the Photoshop function. Go to Filter—Sharpen—Smart Sharpen.
*Moiré pattern occurs when a scene or an object that is being photographed contains repetitive details (such as lines, dots, etc) that exceed the sensor resolution.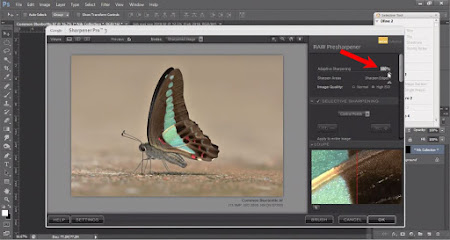
The ‘Adaptive Sharpening’ is default at 100%, click OK. Remember to look out for noise appearing due to sharpening, because then you have gone way too far. You might want to reduce the percentage of sharpening, it’s totally up to you. Just remember to make it subtle, we don’t want any halos showing up.
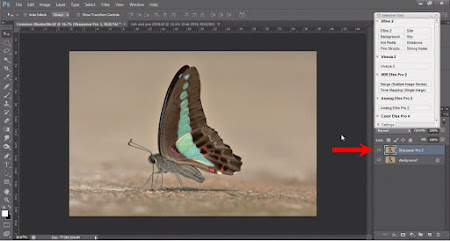
A new layer is created. Your original image is at the Background layer, if you are not total pleased with what you have applied, you can delete the newly created layer and start all over again.
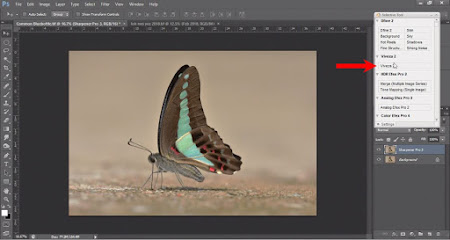
The red arrow shows Viveza 2. Click to launch the plug-in
Step 2
Enhance colours with the use of ‘Viveza 2’.
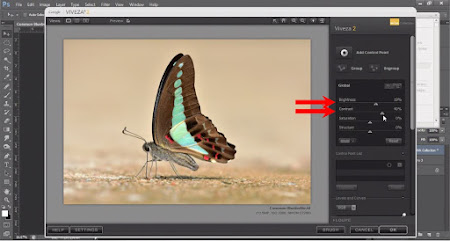
Adjust the brightness and contrast to your preference and click OK.
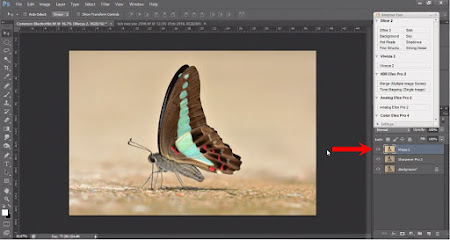
A new layer is created. Now you will see that your photo is starting to come alive!
Step 3
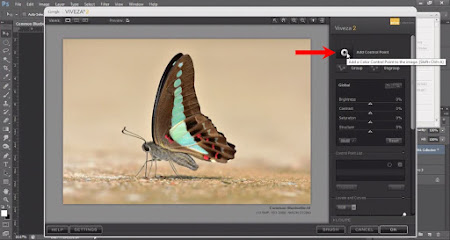
Using control points in Viveza 2.
In this step, I will show you how to make use of ‘Add Control Point’ to make adjustments to selected areas.
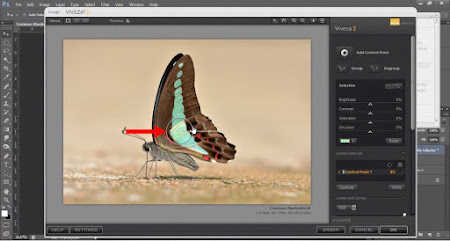
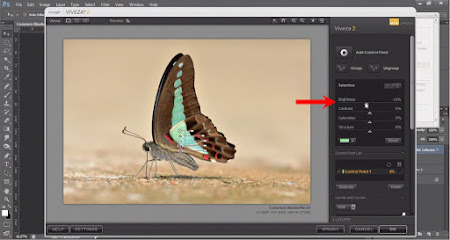
I felt that this blue area on the wing is a little too bright so I added a control point, close up the area that you want to make adjustment to by moving the slider to the left and reduced the brightness.
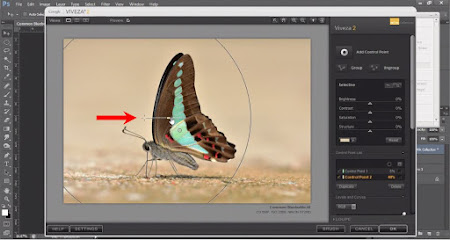
To make the butterfly “pop” even more, I decided to brighten up the background and also to reduce the saturation. By reducing saturation to the background, it makes the background looks ‘duller’ and hence the emphasis is on the main subject. Again add ‘control point’ on the background and move the slider to the right to covers the entire picture.
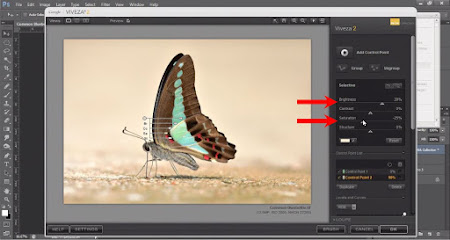
Adjust the brightness and saturation and click OK.
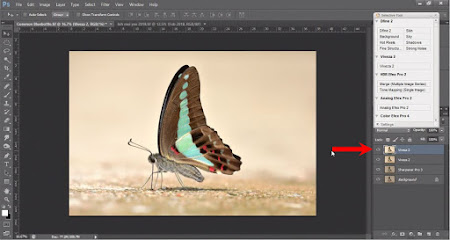
Again, a new layer is created. When you are happy with the result then it’s time to move on to cropping out the unwanted areas.
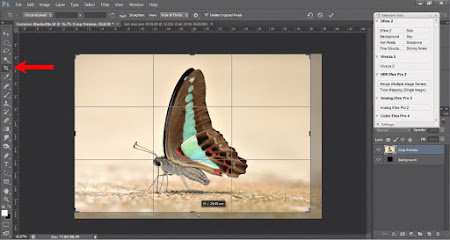
Step 4
Cropping the image.
By cropping out some of the background on the right and bottom, it helps to “move” the butterfly into a better position and creates “lead room”. Select the crop tool from the tool box, select your desired aspect ratio and hit the ‘enter’ key.
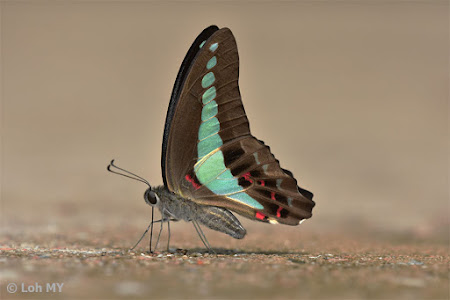
Original Photo
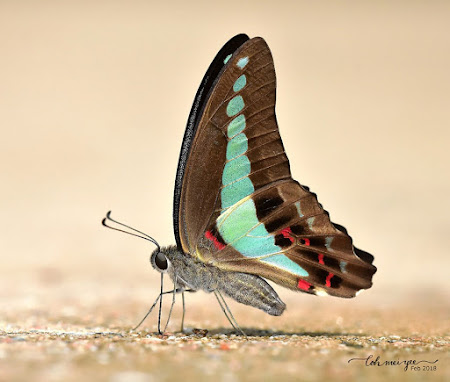
Post-processed and cropped photo
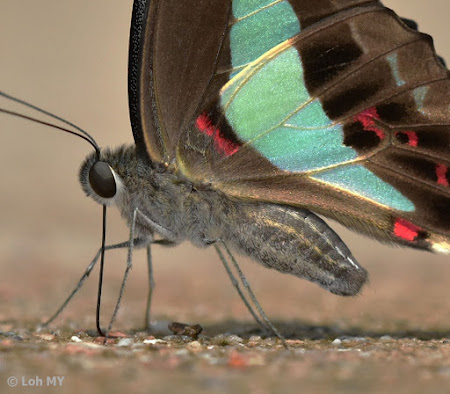
Original photo
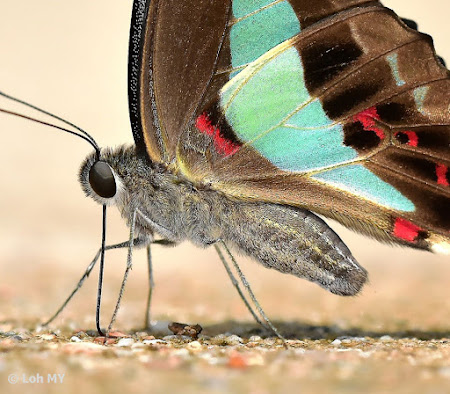
Post-processed photo
I hope these 4 simple steps of editing helps you to become more confident in how you process your photos. As I mentioned at the beginning of this article, there are many different ways of doing editing, we just have to explore and find the method that suits you best. In summary, I have made a short 3-minute video tutorial below, showing you how you can enhance the look of your photo in just 4 simple steps.
Text and Photos by Loh Mei Yee
4 comments:
Which Photoshop version do you use ?
The author is using PhotoShop CS6.
Thanks for the information & keep up the good work!
Very interesting and informative article!
Post a Comment