Digital Post-Processing - Part 4 : Photo Retouching - Layer Mask
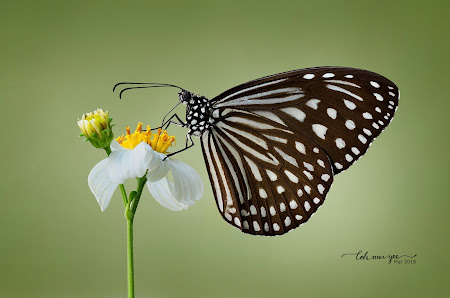
In her fourth and final part on digital post-processing tips and tricks, ButterflyCircle member Loh Mei Yee shares the use of layer mask in photo retouching to remove unwanted elements and distracting backgrounds in your shot.
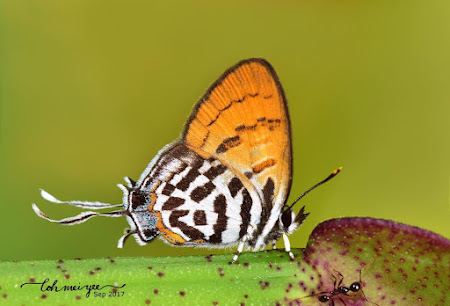
In the previous article, you’ve learnt how to use the Clone Stamp Tool to remove distracting elements. In this final part of this series, we continue with the topic on photo retouching. I will cover what Layer Mask is, how it works and how to use it to make your photo retouching work an easier and enjoyable one.
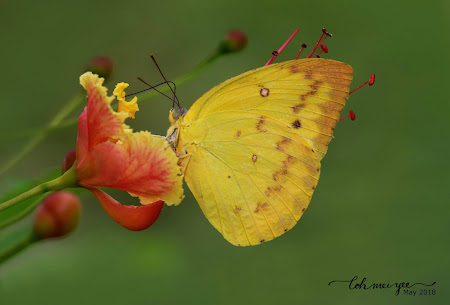
How does Layer Mask work?
I’ve been asked “how do I protect areas that I don’t want to be affected during cloning?” Layer Mask is exactly what you need when it comes to removing unwanted elements that are touching or very close to the areas that you don’t want to photoshopped. Photo retouching will be a breeze after you’ve understood how Layer Mask works and you’ll be a Photoshop master in no time!
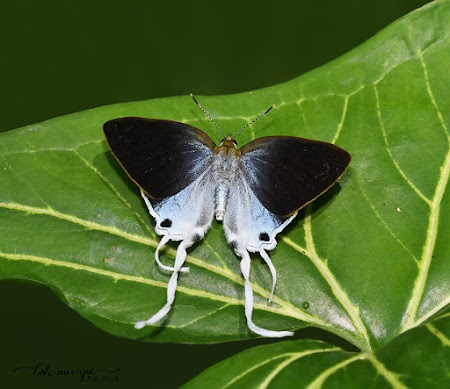
To let you have an easier understanding of what Layer Mask is, I’ll put it in a simple way. When you add a layer mask to a layer, it is shown as white. A layer mask that is white has no effect. When you fill the layer mask black, the layer becomes transparent, revealing the layer below it. Layer mask allows you to edit or delete images, with no permanent harm to the image.
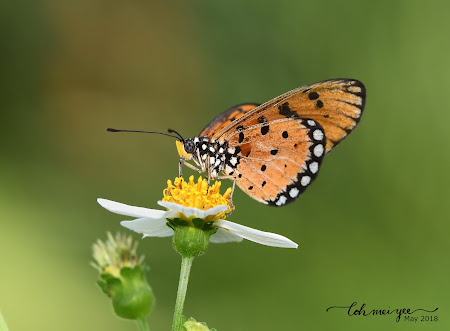
Below is a short simple tutorial to show you how Layer Mask works. I will also cover how the Magic Wand works.
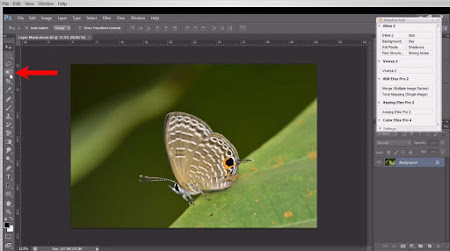
At the Toolbox, choose the magic wand or press ‘W’ on the keyboard. The Magic Wand selects pixels based on tone and colour.
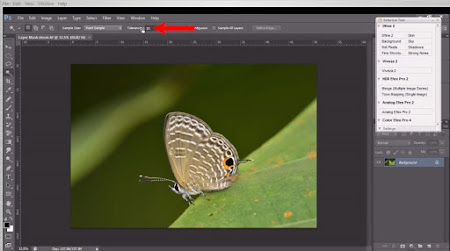
By changing the number in Tolerance, you can determine the range of colour that the Magic Wand Tool selects.
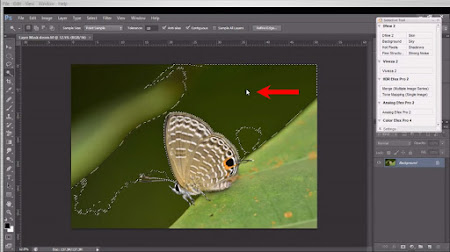
Click on the area that you want to select. The lower the number, the lesser pixels of a similar colour will be selected.
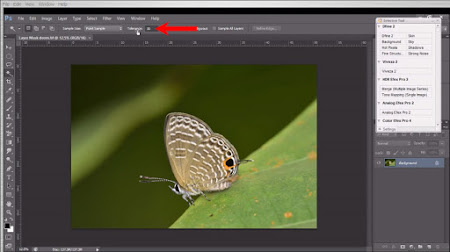
Change the Tolerance to 30 and see what happens.
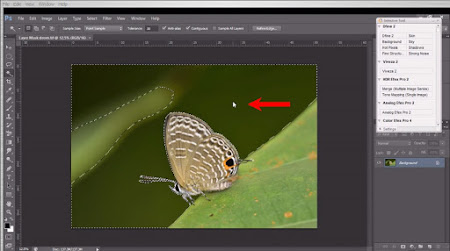
Click on the area same area that you have selected earlier, you can see that a bigger area is selected. It is because the higher the number, the more pixels of a similar colour will be selected.
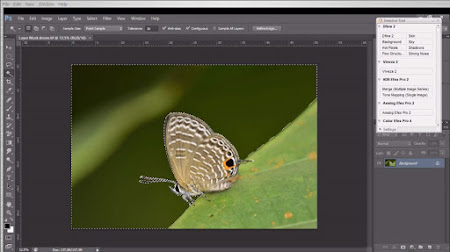
While holding down ‘shift’ key, continue clicking until the whole background is selected.

Duplicate the ‘Background’ layer.
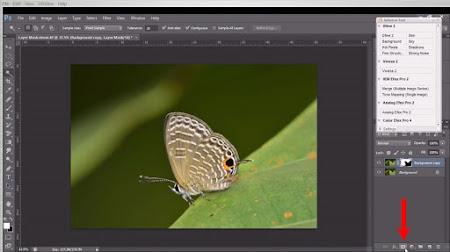
Add Layer Mask.
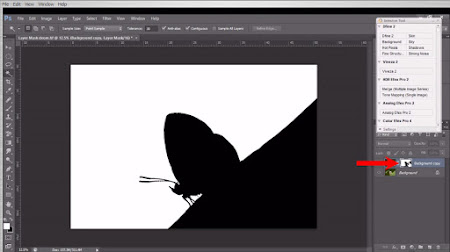
Hold ‘Alt’ (for PC) or ‘Opt ’ (for mac) and click on the Layer Mask. In the Layer Mask, the background is white and the butterfly and leaf is black, which means it is revealing the layer below it.
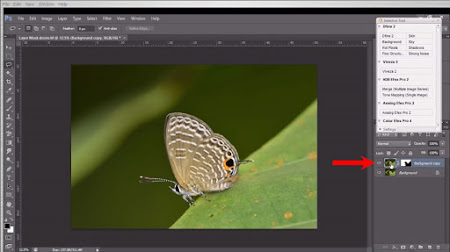
To go back to the layer, hold ‘Alt’ (for PC) or ‘Opt ’ (for mac) and click on the Layer Mask or click on the layer.
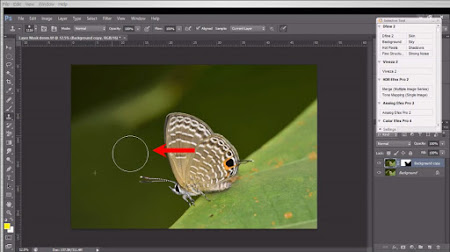
Now let’s start cleaning up the background. Set a sampling point and clone stamp until you get your desired look for the background.
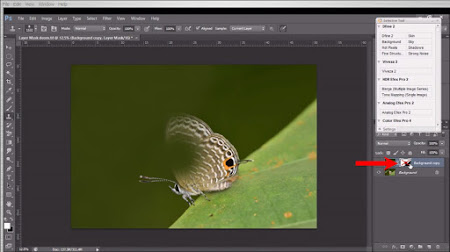
To reveal the entire image, disable the Layer Mask by pressing shift + click on the Layer Mask.
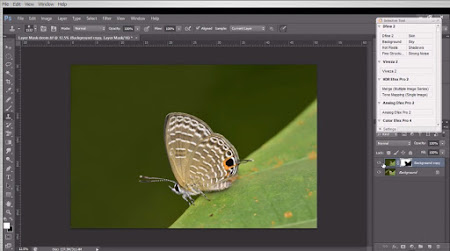
To enable the Mask, press shift + click on the Mask or click on the layer. The black area on the Layer Mask reveals the layer below it, which shows the un-photoshopped areas.
I have made a video tutorial which included all that you’ve learned in this series on Digital Post-Processing. Please be reminded that this is the way I usually do my post-processing, you can use it as a reference and come up with your own method. I hope through practice you will find what works best for you!
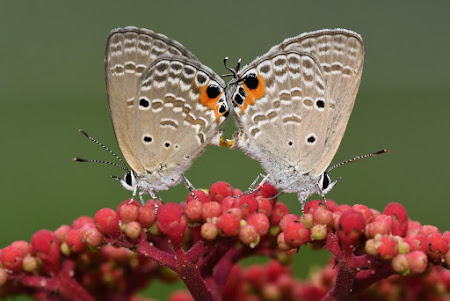
Original photo
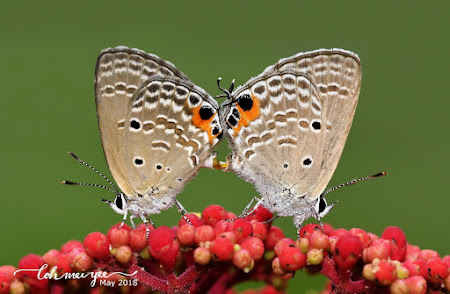
Post-processed photo
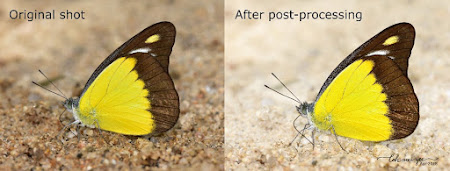

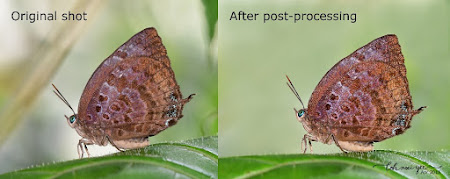
Here are 3 examples of what can be achieved with photo retouching in Photoshop, with the use of Layer Mask.
We have come to the end of the Digital Post Processing series. I hope that I have covered the basics of what you need to know for post-processing. By sharing the information, I hope that you can sharpen your skills and let go of the fear of using Photoshop and inspired you to start their post-processing journeys “Knowledge has a beginning but no end.” Till we meet again!
Text and Photos by Loh Mei Yee
No comments:
Post a Comment